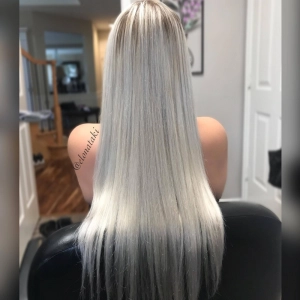
Achieving an ultra-white platinum or pearl blonde look is one of the most highly requested transformations in the salon today.
However, when a client walks in with ultra-dark hair and asks to go completely blonde, many stylists hesitate. It is a demanding process that requires precision, speed, and the correct chemical formulations to preserve the health of the hair while lifting out heavy natural pigments.
With the right technique and professional-grade products, this dramatic shift is entirely possible. Below is a comprehensive, step-by-step guide detailing how professional hairdressers successfully execute this transformation, using specialized techniques and products to achieve a flawless, ultra-white pearl blonde finish.
The Reality of Bleaching Ultra-Dark Hair
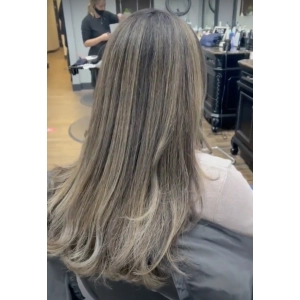
Ultra-dark hair contains a dense concentration of melanin, the pigment responsible for dark brown and black hair tones. To strip these pigments away and elevate the hair to a platinum level, you must lift the hair through bleaching —progressing it from red, to orange, to gold, and finally to a pale yellow. You can't just apply toner to dark hair and expect it to go blonde!
The ultimate goal before applying any toner is to achieve a consistent, clean base which is level 10 very pale yellow. You need to do this without destroying the hair's structural integrity, which is why using good products is so important. Achieving this requires a strategic plan, the right developer strengths, and meticulous application.
We will go through all the steps you need to follow now. With a little bit of practice, anyone can bleach and tone like a very experienced stylist.
Essential Products Checklist
Before starting the application, gather all necessary tools and formulas. Having everything ready ensures you can work quickly and efficiently without interruptions.
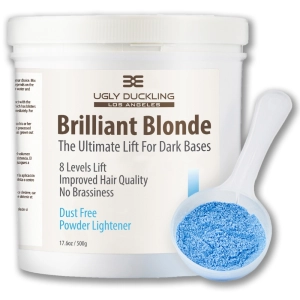
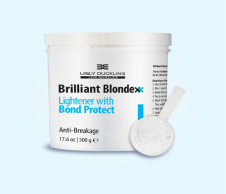
- Lightener: Brilliant Blonde Lightener. This high-performance bleach is designed to lift dark bases efficiently while respecting the hair fiber and is the one we would recommend.
- Developers:
- 30 Vol Developer (for the mid-lengths and ends).
- 20 Vol Developer (for the root area and the toning stage).
- Toner: Ugly Duckling Intense Pearl Blonde. This toner is a unique toner because it lifts around 1-2 levels at the same time as toning.
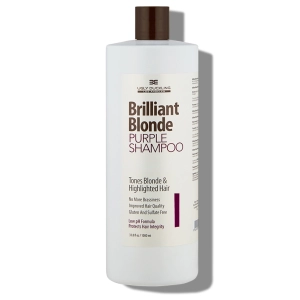
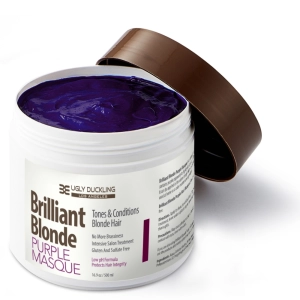
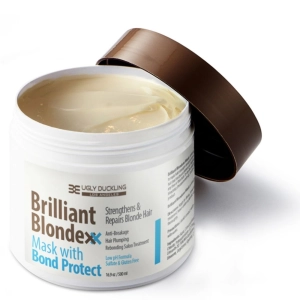
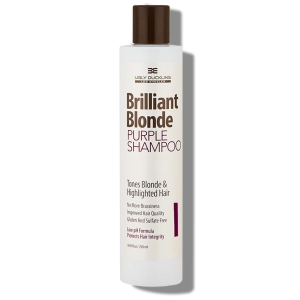
- Post-Color Treatment: Professional Purple Shampoo and Purple Mask. These are vital for neutralizing remaining yellow tones and closing the hair cuticle post-service.
- Tools: Sectioning clips, mixing bowls, application brushes, colorist gloves, and a blow dryer.
Phase 1: The First Bleach Application (Mid-Lengths)
To bleach a full head of dark hair, and especially when the hair is long, it is better to deal with the the mid-ends separately from the root area. You get better control of the overall process that way.
The heat emanating from the client’s scalp always accelerates the chemical reaction of the bleach there, causing the first half-inch of hair to process significantly faster than the rest.
You need weaker developer strength here.
Whereas the mid-lengths typically take longer to process. You typically require require stronger developer strength here.
If you have ends which are already lightened, don't apply bleach there.
Ends are typically thinner and may require less bleach processing time if you do decide to bleach there.
Step 1: Mixing the First Formula for the Mid-Lengths
Combine Brilliant Blonde Lightener with 30 Vol developer. The 30 Vol developer provides the necessary strength to cut through dense, dark pigments on the hair lengths.
- Mixing Ratio: 1 part bleach to 2 parts developer
- Ensure the mixture is thoroughly blended into a smooth, creamy consistency that allows for easy spreading and perfect saturation.
Step 2: Sectioning
Divide the hair into four clean quadrants to maintain control over the application.
Because the client's hair is long and dark, speed is of the essence.
For long hair lengths, it is highly recommended to have two stylists work simultaneously on the application.
Working together ensures the bleach is applied as fast as possible, guaranteeing an even processing time across the entire head.
Step 3: Application to the Lengths
Start applying the mixture at the back sections, where the hair is typically coarsest and darkest.
- Take fine, thin sub-sections to ensure every single strand is entirely coated in product.
- Apply the product generously to the mid-lengths and ends, completely bypassing the root area close to the scalp.
- Continue working quickly toward the front sections until the lengths of all four quadrants are fully saturated.
Step 4: Monitoring the Lift
Once the initial application is complete, monitor the hair closely. Watch the color change as it transitions out of the dark stages. If the hair is exceptionally resistant or if the product begins to dry out, prepare a fresh batch of the same mixture and reapply over the sections to keep the lightener active.
Lift as far as you can and rinse with water. Now we will tackle the root.
Phase 2: The Root Application
Once the mid-lengths and ends have successfully begun processing and are lifting well, it is time to address the root area.
Step 1: Mixing the Root Formula
Because the scalp generates heat, a lower developer strength is required for the roots to prevent irritation and over-processing.
- Mix a fresh batch of Brilliant Blonde Lightener, this time pairing it with 20 Vol developer.
- Maintain the same mixing ratio of 1 part bleach to 2 parts developer.
Step 2: Applying to the Scalp Area
Work systematically through the entire head, applying the 20 Vol bleach mixture directly to the root area.
Work quickly to allow the roots to catch up to the processing level of the mid-lengths and ends.
Step 3: Rinsing
Allow the lightener to process until the entire head reaches a uniform, clean shade.
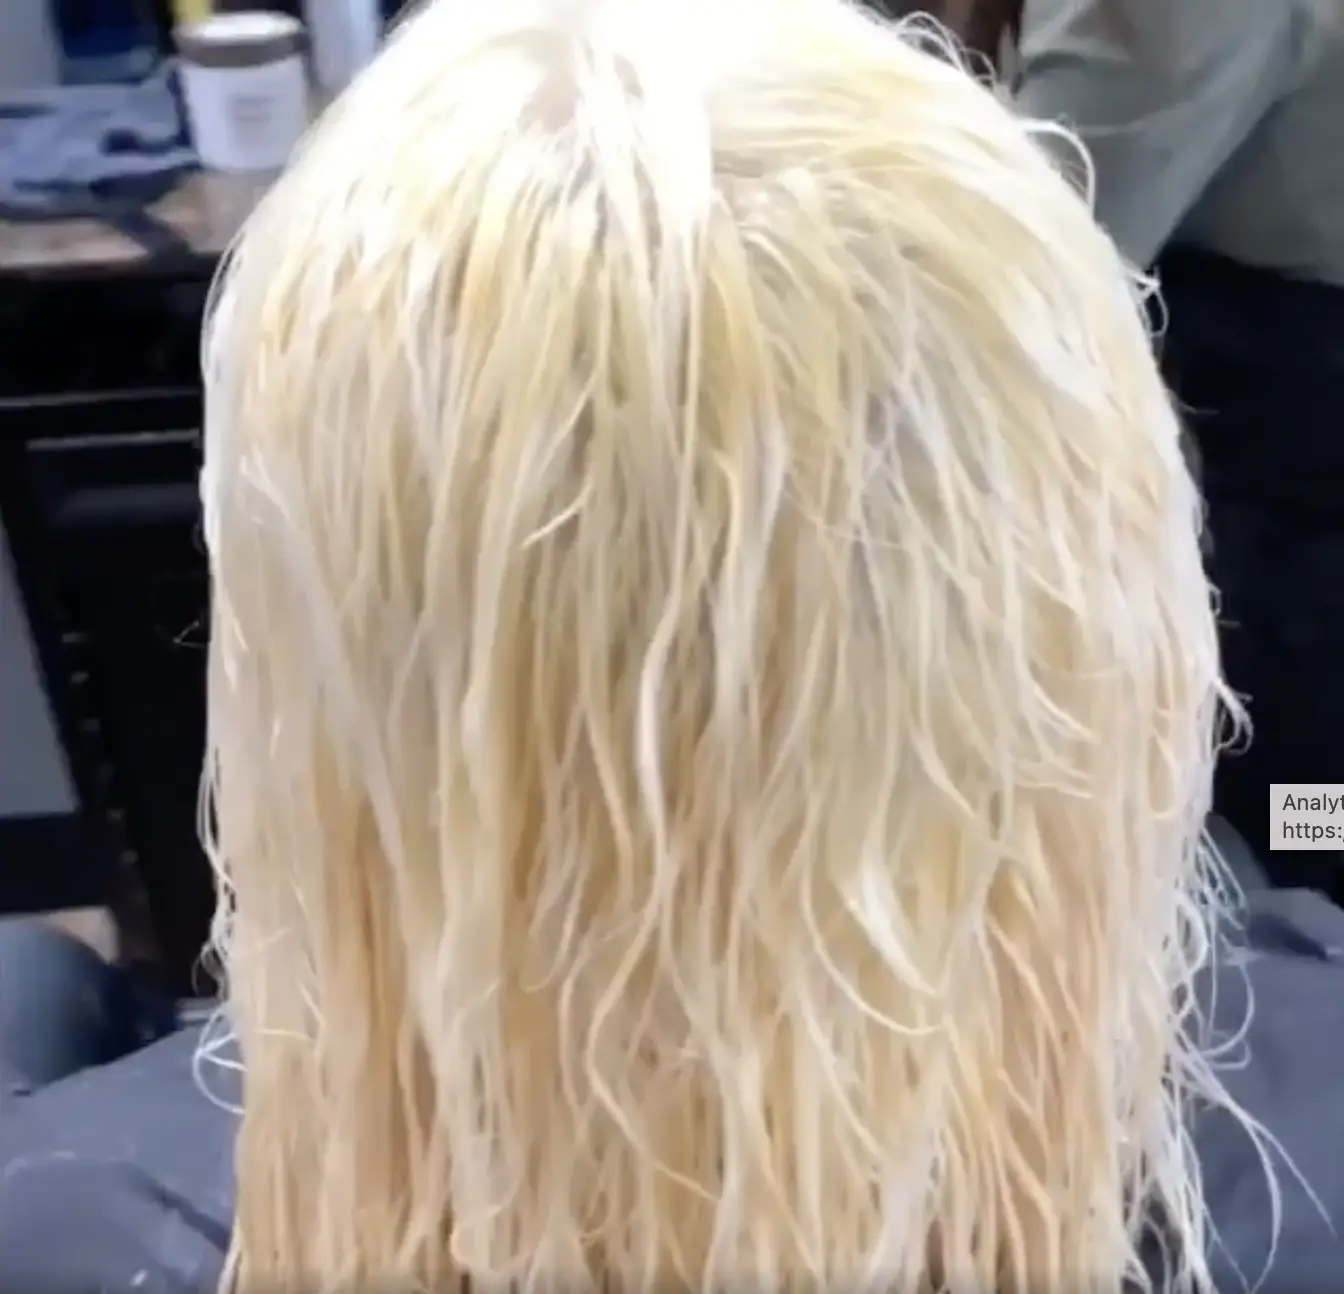
For a platinum pearl blonde, the hair needs to lift cleanly past orange and gold shades ane even bright yellow until it reaches a consistent level 10. Very pale yellow, in other words.
Refer to the image below to see what level 10 hair looks like.
 Lightening_levels (5).webp)
After bleaching, try to get the hair looking like this. This is really the ideal if you are looking to get platinum blonde hair:
Once this target level is achieved, rinse the bleach out thoroughly with lukewarm water until the hair is completely free of product residue.
Phase 3: Toning the Hair
Step 1: Mixing the Toner Formula
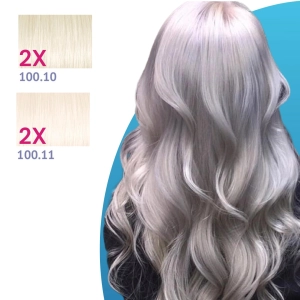
To achieve a bright, reflective platinum finish, use Ugly Duckling Intense Pearl Blonde toner 100V.
This toner is specially formulated with purple and gray secondary tones designed to neutralize unwanted yellow pigments and deposit a pearlescent shine. It also contains added lift, something which not too many toners do.
- Mixing Ratio: 1 part Intense Pearl Blonde toner to 2 parts 20 Vol developer.
Step 2: Systematic Toner Application
Just like the bleaching process, the toner needs to be applied methodically to ensure perfect, even results.
- Lengths First: Begin the application by working the toner through the mid-lengths and ends first. Use a professional color brush to deposit the product cleanly.
- Roots Second: Once the lengths are coated, apply the toner mixture to the root area.
- Massaging for Saturation: After applying with the brush, put on colorist gloves and work the toner through the hair using your fingers. Massaging the strands ensures excellent product saturation, leaving no dry spots or uneven patches.
Step 3: Processing the Toner
As the toner processes, you will notice the hair visibly changing color in the bowl.
The formulation will turn purple and gray. Do not panic—this dramatic color shift is the active neutralization process at work, cooling down the underlying yellow tones to reveal a beautiful pearl blonde shade. Process according to the product guidelines until the desired tone is achieved.
Phase 4: Post-Color Care and Cuticle Management
Bleaching and toning temporarily opens up the hair’s outermost layer, the cuticle, to alter internal pigments. The final steps of the salon service must focus on closing that cuticle down to lock in the new color, restore smoothness, and eliminate any remaining traces of warmth.
Step 1: The Purple Shampoo and Mask Treatment
Rinse the toner completely from the hair, then apply a professional purple shampoo, followed by a purple mask.
- Cuticle Closure: This dual-action treatment helps safely close down the hair cuticle post-bleaching, securing the integrity of the hair fibers.
- Final Tonal Correction: The violet pigments within the shampoo and mask deliver a final punch of color correction, completely killing any stubborn yellow tones left behind.
Step 2: Finishing and Styling
Gently towel-dry the hair and proceed to blow-dry. As the moisture evaporates, the final color result will reveal a seamless, uniform, ultra-white pearl blonde finish.
Thanks to the precise developer selection, rapid application, and conditioning post-treatments, the hair integrity remains perfectly preserved, showcasing a healthy, vibrant bounce and shine.
Summary of the Transformation Plan
| Phase | Target Area | Product Mix | Purpose |
|---|---|---|---|
| Phase 1 | Mid-lengths & Ends | Brilliant Blonde Lightener + 30 Vol (1:2 ratio) | Cuts through dense natural pigments on the hair lengths. |
| Phase 2 | Root Area | Brilliant Blonde Lightener + 20 Vol (1:2 ratio) | Safely lifts the root area using scalp heat without over-processing. |
| Phase 3 | Full Head Toning | Intense Pearl Blonde Toner + 20 Vol (1:2 ratio) | Neutralizes raw yellow tones to deposit a pearl blonde finish. |
| Phase 4 | Post-Color Care | Purple Shampoo & Purple Mask | Closes the hair cuticle and eliminates final traces of warmth. |
By adhering to this strategic step-by-step plan, transforming ultra-dark hair into a stunning, uniform platinum blonde is achievable while keeping the hair remarkably healthy.